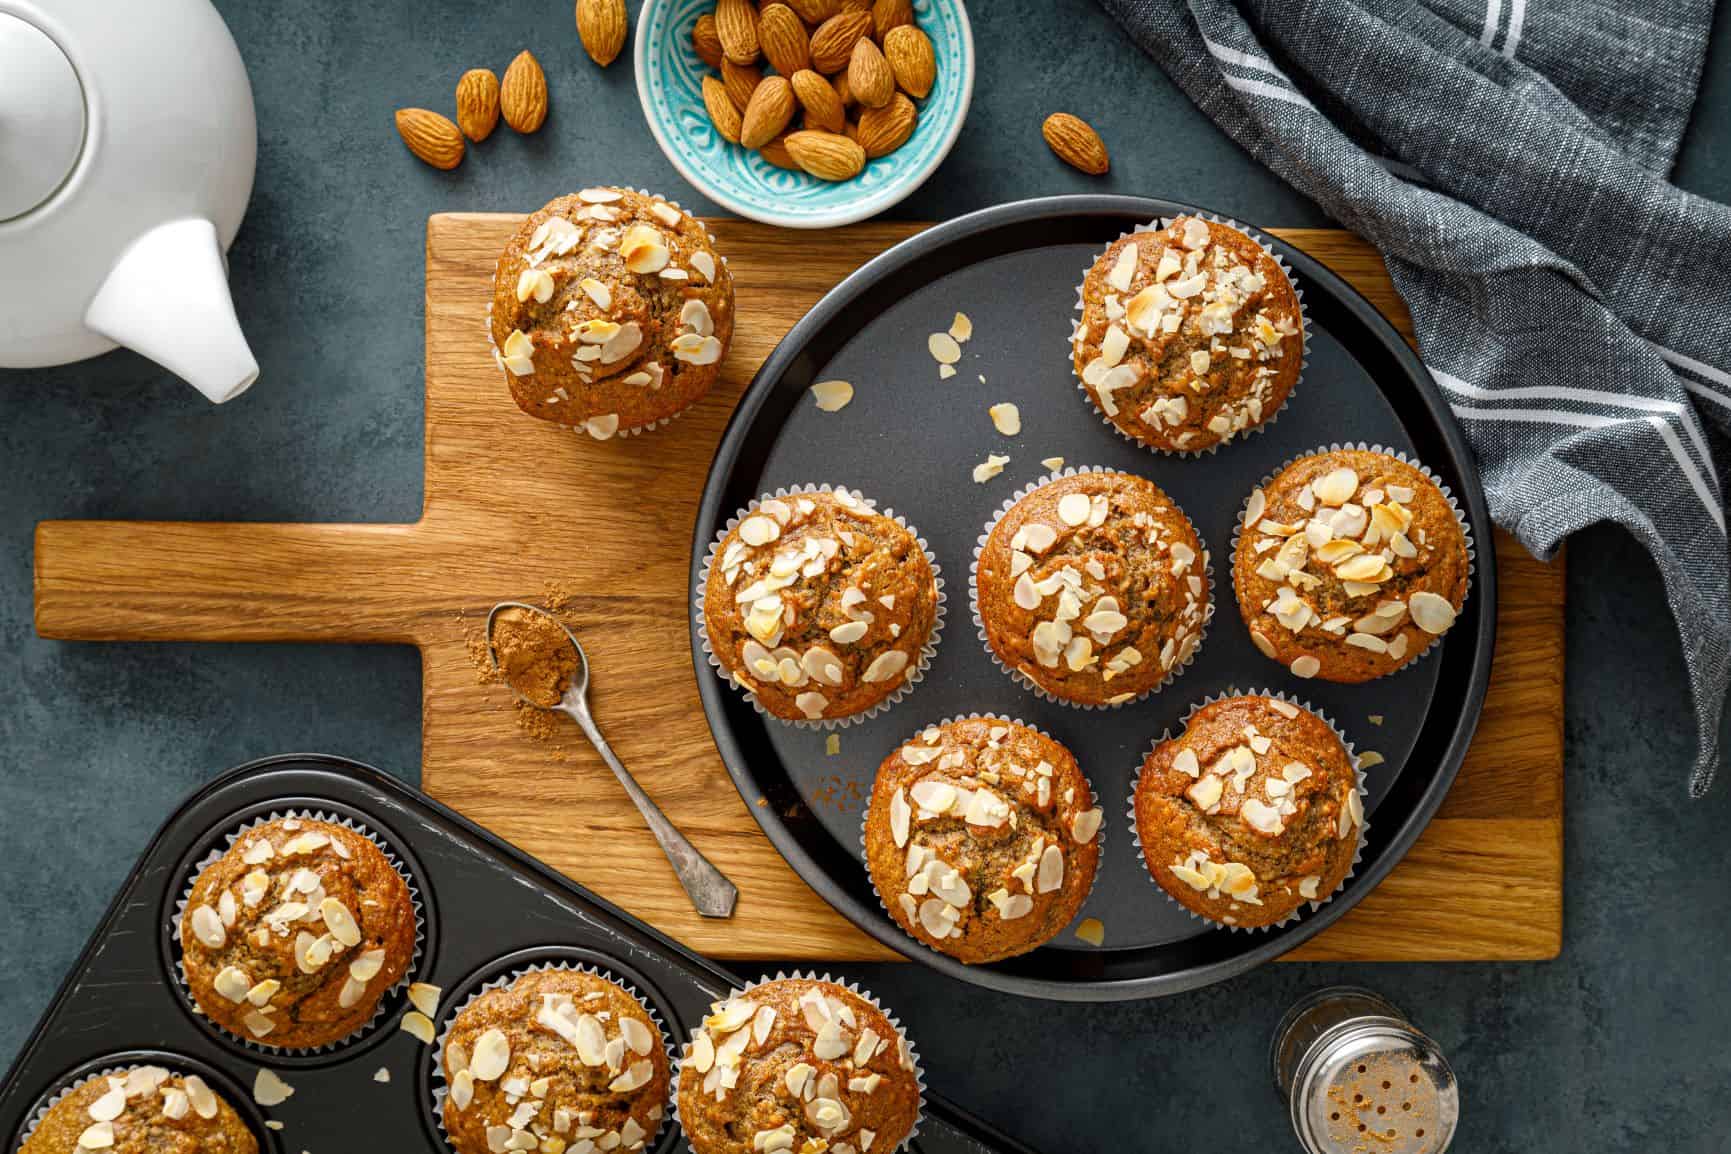
Traditional baking has many techniques that produce delicious results. The gluten-free baking world has its own set of techniques, and it’s not just about substituting the flour (trust us!). Many of the vital elements of traditional baking simply don’t apply to gluten-free baking.
Start Simple
If gluten-free baking is new to you, then you should start with something you’re familiar with. If pancakes or chocolate chip cookies are your things, start there. These types of recipes are also simple, and you’ll be using ingredients in them that are familiar to you.
It would help if you tried different options with these recipes. Different gluten-free flours are going to taste and feel different. You may like some of them, but not the others. Try different ones and figure out which ones you like and work best with.
Follow Recipes
It’s always tempting to play around with recipes. Swapping one ingredient for another can seem like a good idea at the time. But, it can also completely ruin your batter. When it comes to gluten-free baking, the very nature of how ingredients work together is even more delicate.
Don’t just substitute ingredients in your recipes. Find a recipe that calls for the ones you are using. If you’re using rice flour, find a recipe that calls for it.
Know Your Flours
Not all all-purpose gluten-free flour is the same. Besides the specific flours, like almond and coconut flours, there are tons of blended flours. And not one of them is the same as the next. They are blends, and different ones are good for different recipes.
For instance, some may have a label on the back that says they’re suitable for non-yeasted items. So, be careful when you’re making yeast breads. Check the back of the package for other guidelines.
Measuring Flours
Home bakers often use the dip and sweep method for measuring flour. This isn’t the best technique for gluten-free flours and starches. Gluten-free flours and starches are finer, which makes them hard to pack evenly and consistently into a measuring cup.
They’re also usually sold in small bags or boxes, making it hard to place measuring cups inside. Many people make a mess in the process. The cup is also often unevenly packed.
The best solution to this issue is to use a scale to weigh the product instead.
But, if you insist on using a measuring cup, there is a technique you can use:
- Start with putting a paper towel under the measuring cup.
- Spoon the flour into the cup, and shake it occasionally to settle the flour. Do this until the flour runs over the rim.
- Don’t pack the flour or tap the cup.
- Use a flat edge to remove the excess flour.
- Use the paper towel to funnel extra flour back into the container.
Mixing Your Batters
Traditional recipes caution against overmixing, so you don’t build excess structure into delicate batters, such as cakes and muffins. This way, they won’t turn rubbery. But, for gluten-free batters, the opposite is true.
Bakers are always trying to get more structure for their gluten-free bakes. They aim for better rises and better chews to mix well with add-ins like blueberries and chocolate chips.
Resting Doughs and Batters
There’s often a sandy texture in gluten-free batters that gets made quickly. This isn’t noticeable in those with longer baking times. Bakers tested many theories about how to remove the grit, but most have failed.
Bakers have tried grinding the flours more, soaking them in water, and heating them before making the batter. But the only one that worked is letting them sit. Sitting the batters, covered, for 30 minutes resolved the problem.
Bakers gave the flour and starch time to absorb the liquid and soften before baking. The batters also become thicker, and doughs firmed up, so they weren’t as sticky. The difference was visually noticeable.
Use Timers and Thermometers
Figuring out if a baked good is ready to come out of the oven is tricky. Gluten-free baking has its own set of extra challenges. Traditional methods like using a toothpick don’t always apply. Gluten-free foods can look underdone when they get completely cooked.
The starches set and firm up when they’ve cooled. So, timing is often more reliable than visual cues. Make sure your oven runs the right temperature, or else the timing will not be reliable either. Using an oven thermometer is a great tool to ensure your oven temperature is accurate.
Other Tricks
Adding extra liquid to flour blends is a great way to remove the grittiness and make the texture less dry and dense. You want to make sure the moisture eliminates while baking, or else you’ll end up with a gummy texture that isn’t very pleasant.
Longer baking times are your best solution for resolving this issue. Sometimes you need to bake beyond the time that a battery seems done, like when the toothpick comes out clean.
Outrageous Baking Has Your Kitchen Covered
We get it, gluten-free baked goods are sometimes the complete opposite to wheat-based cooking.
Outrageous Baking can help you maintain your gluten-free diet while still indulging in your favorite baked goods (without the guilt).
We offer gluten-free baking flour and dairy-free treats that taste just like your mom’s homemade recipes. From cinnamon coffee cake to pumpkin or chocolate zucchini bread, our gluten-free breads and cakes are a true delight. Visit our store today to find delicious gluten-free treats that your entire family will enjoy in good health!


